What is a Dental Chart?
Dental Chart is an Dental EMR feature that lets you easily create a visual documentation of your observations to educate your patients. You can also save your observations in the medical record and share them via email or printouts while you continue using your familiar notations with customisable legends and freehand tools.
Adding a Dental Chart
Choose the patient whose dental chart you want to add. Click on Files under EMR on the left hand side..
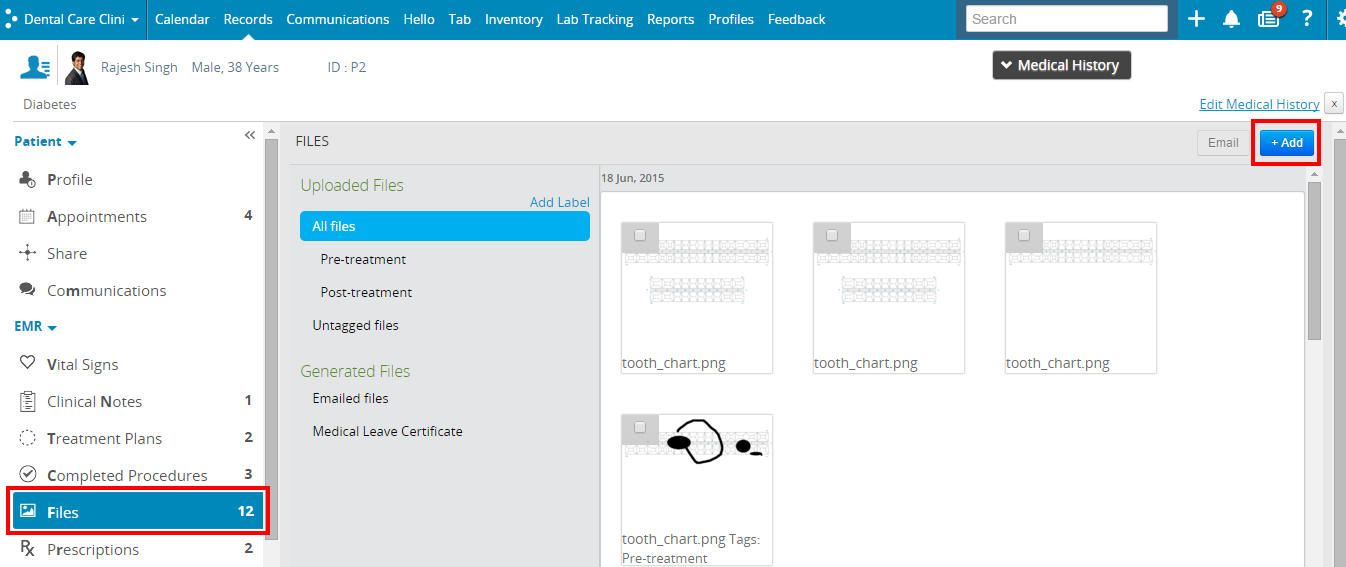
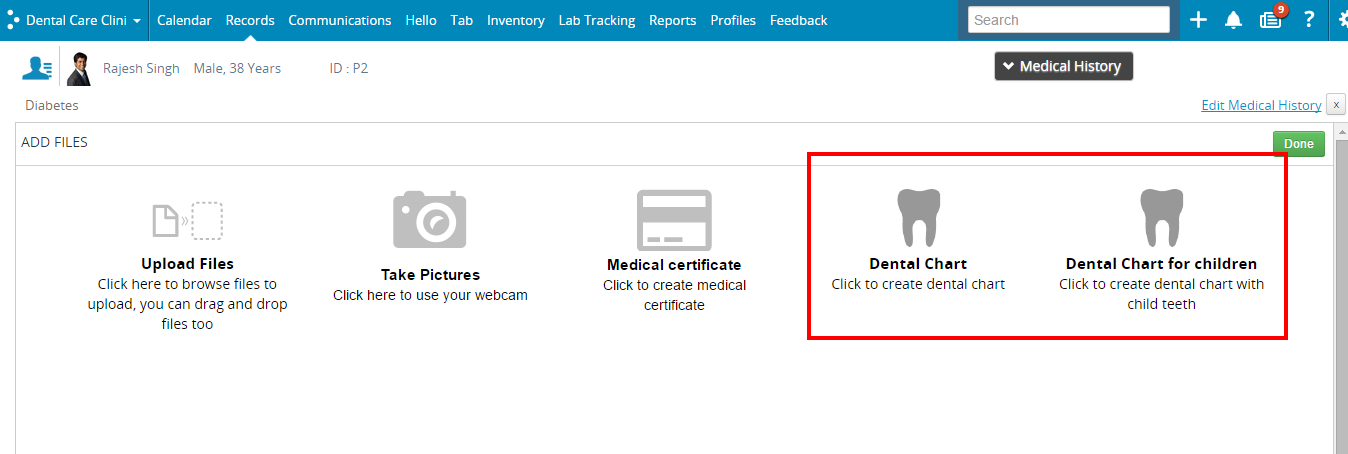
and click on Add and select Dental Chart from the menu.
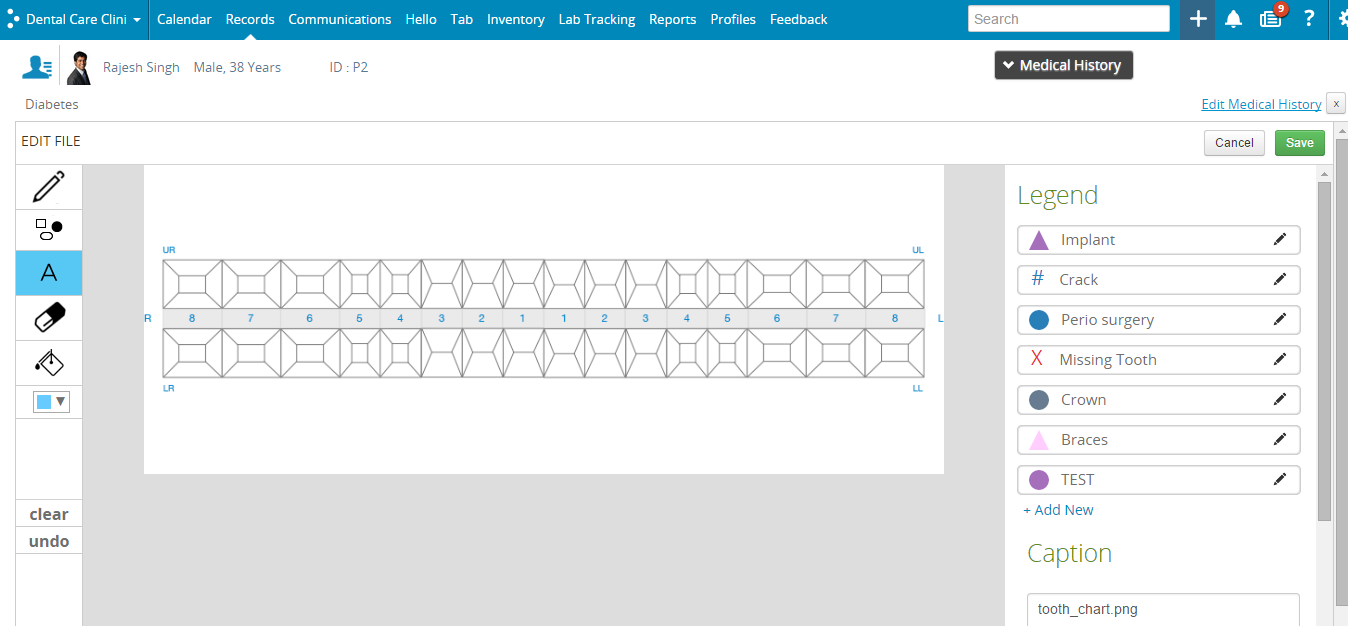
You’ll then see this screen, where you can fill in the dental chart details.
Creating Drawings
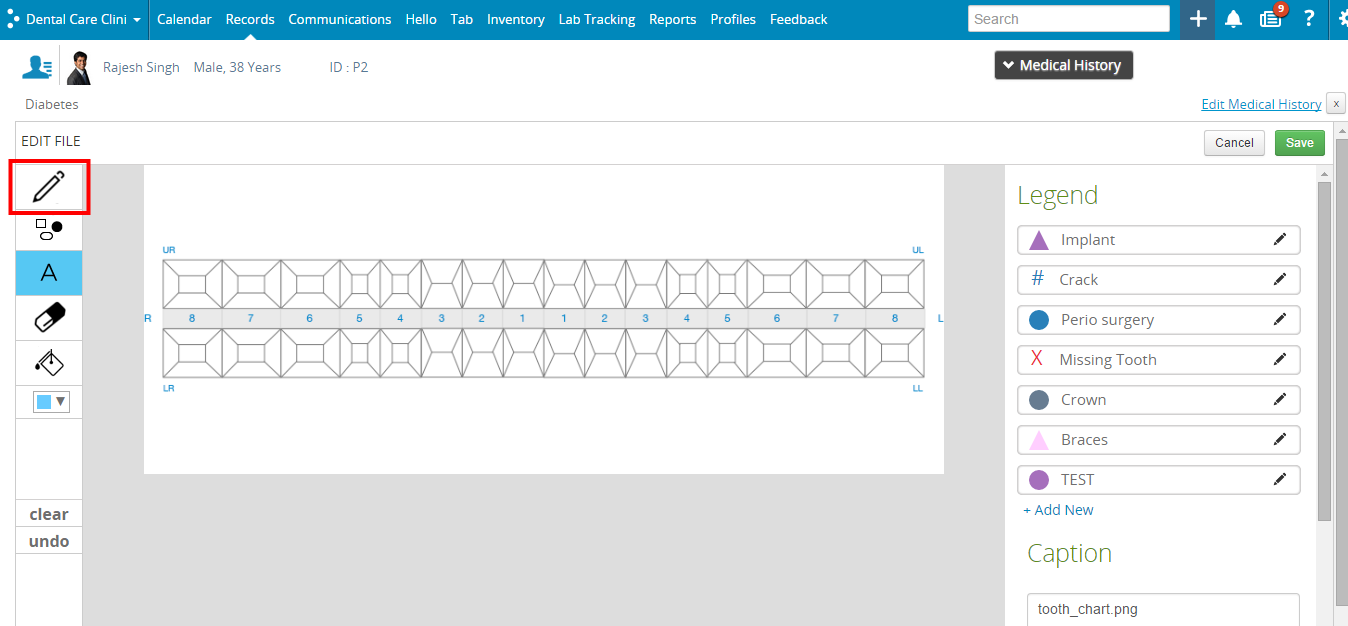
Click on the pencil tab . Select the size you want from the bottom. Click and drag your mouse pointer to start drawing.
Changing Colours
Click on the Colours drop down, and click on the colour that you want to choose. Move your mouse pointer to the desired area to start drawing with the colour of your choice.
Adding Shapes
There are several preset shapes available. Click on the Shapes icon, and click on the shape you want. On the chart, click and drag your mouse pointer to add the shape.

Adding Text
Click on the Text Icon, and click on the area where you want to add text. A rectangular box will appear. Type out your text inside the box and click Save.

Erasing
Click on the eraser icon. Select the size of the eraser from the size option at the bottom. Click and drag the mouse pointer over the area you want to erase.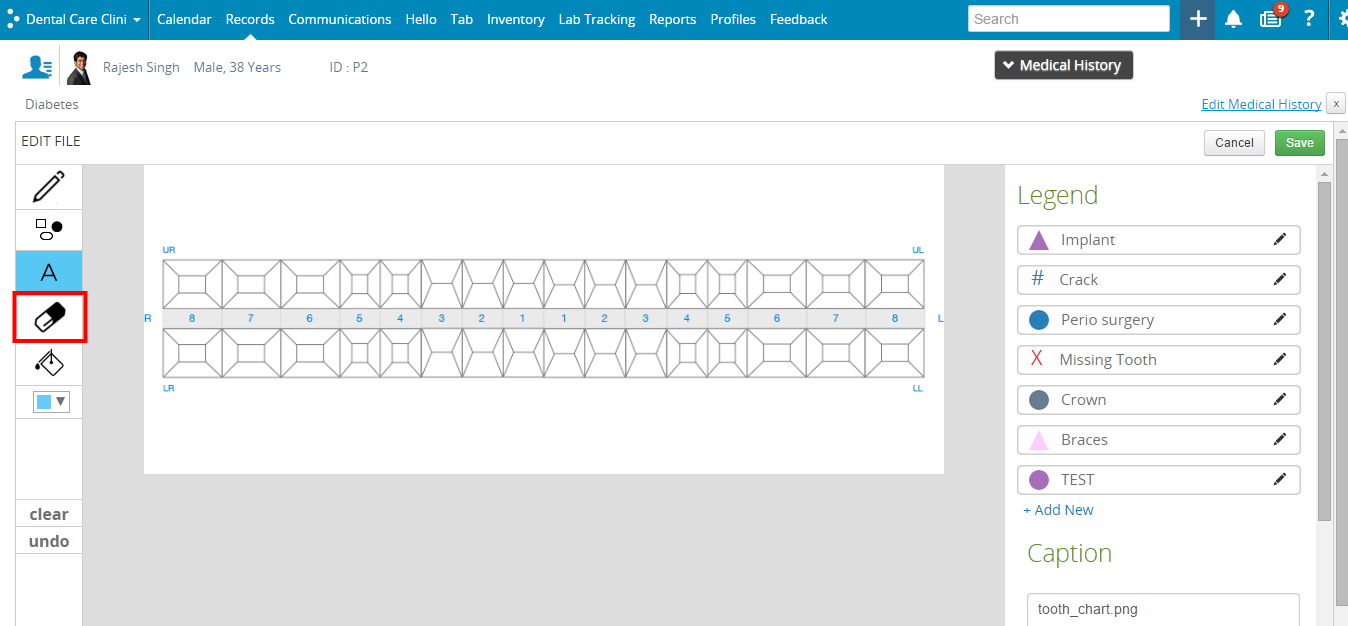
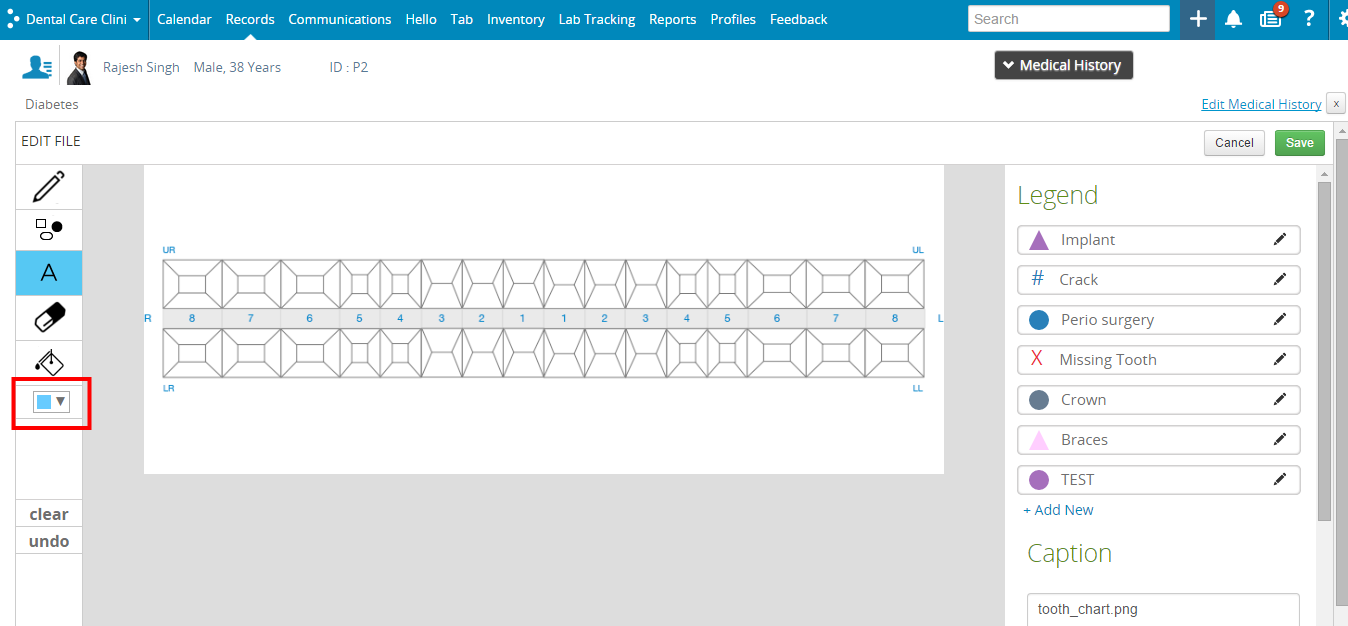
Filling Colours
Click on the Colour Drop down to choose your colour. Click on the Colourfill icon, and then click on the area where you want the colour to be filled.

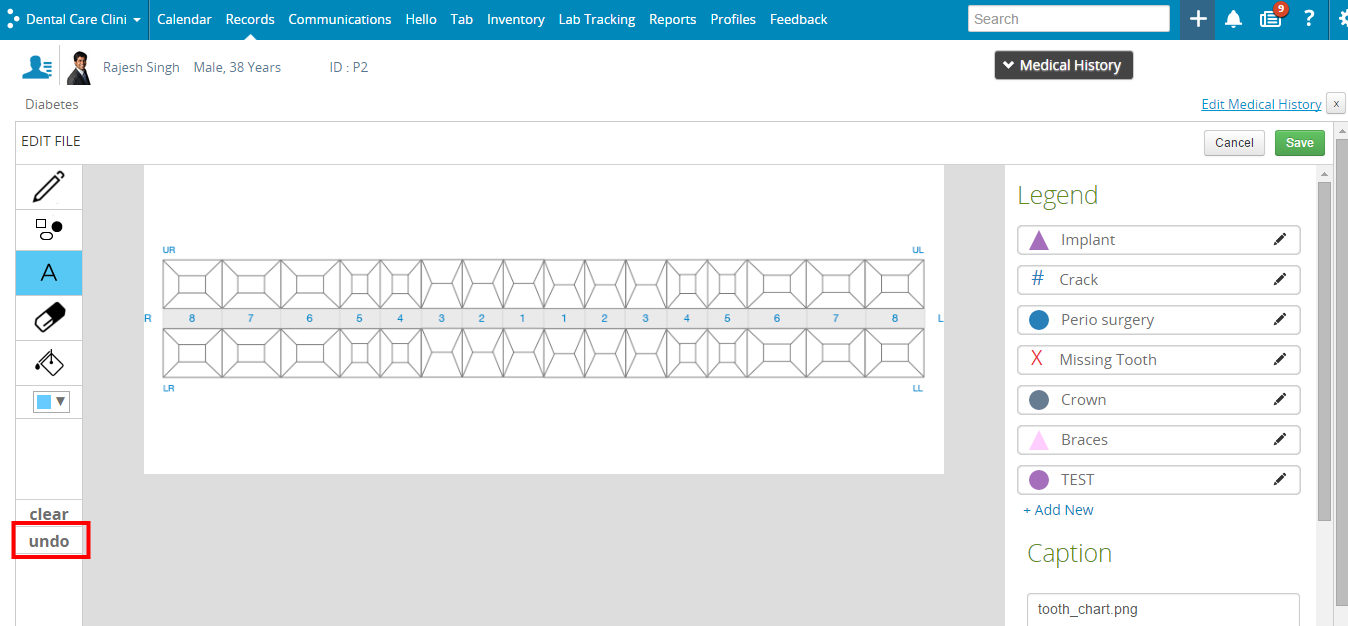
Undo
Click on the Undo icon to change your previous action.
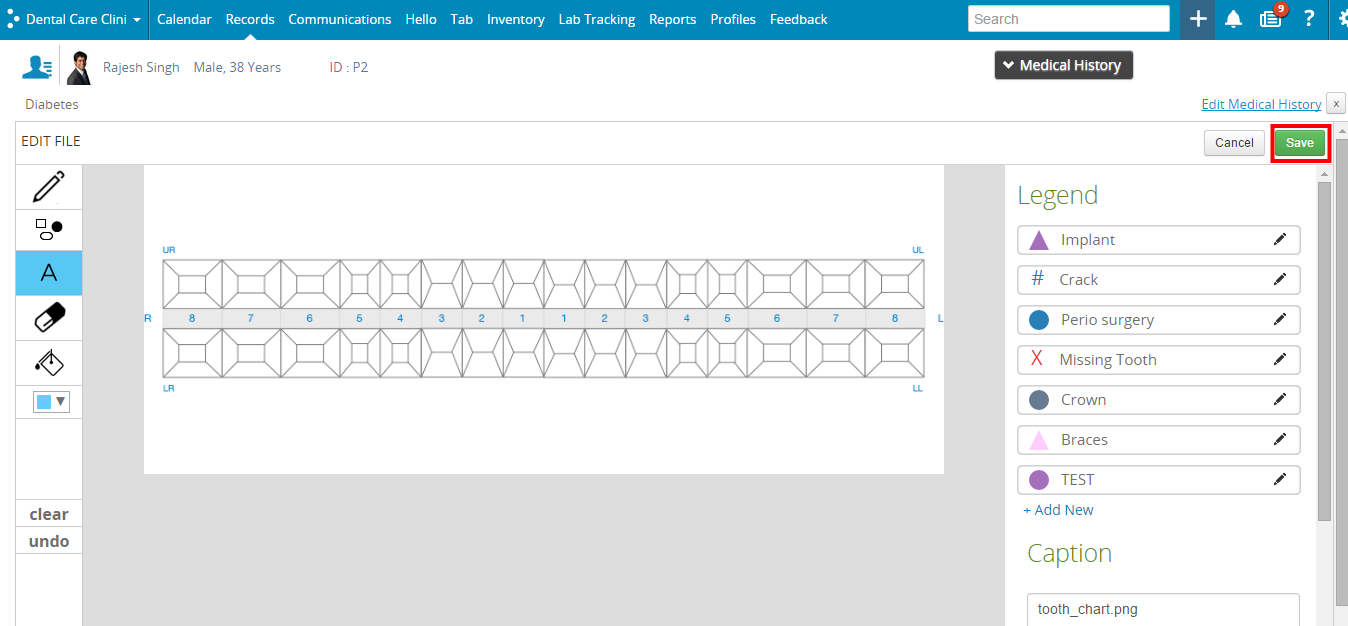
Saving
Simply click on the Save option provided on the top right hand side of your screen to Save your Dental Chart.
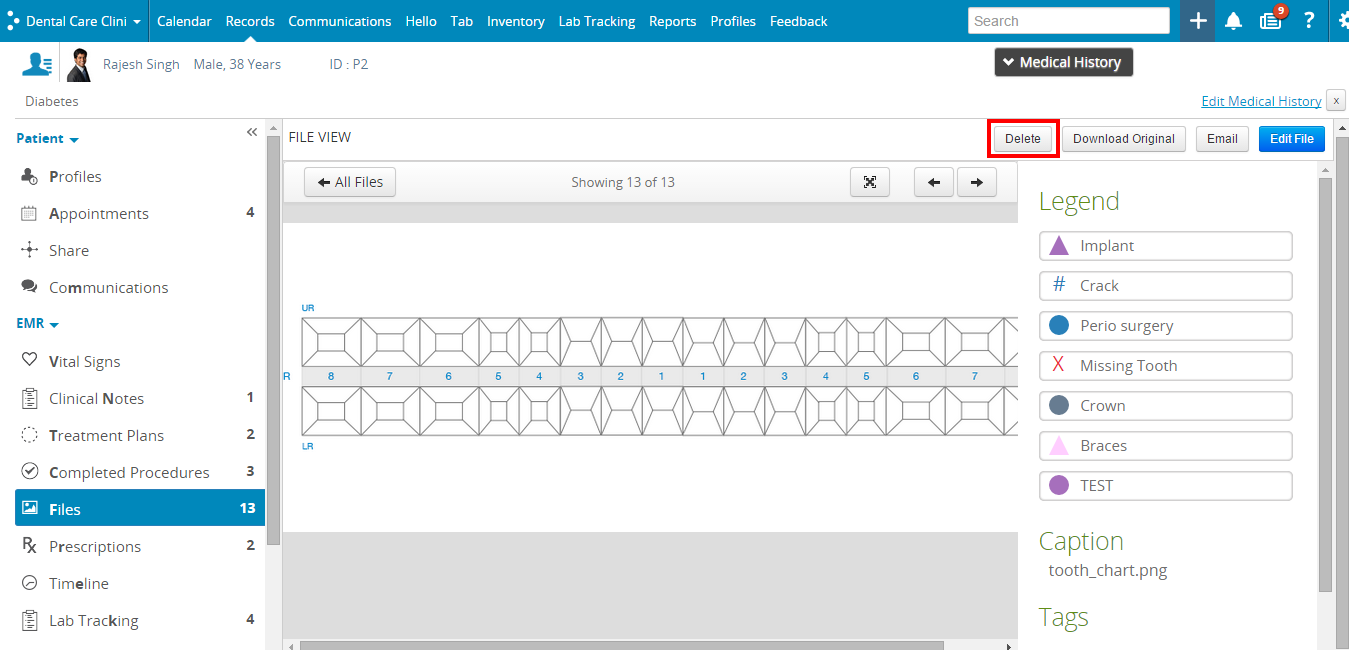
Deleting
Click on the Delete option to delete a Dental Chart.
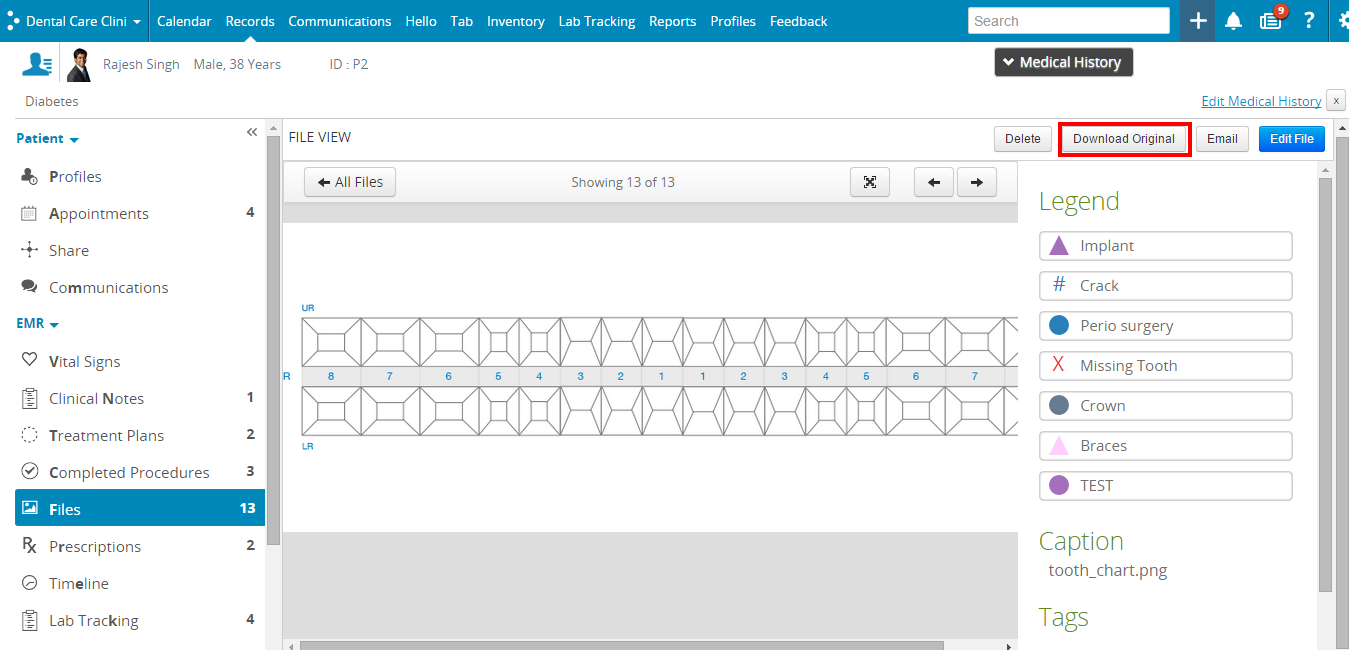
Downloading
Click Download Original option to download the current chart.
Emailing
Click Email option, key in the email address and then click send.

Printing
Go to Timeline, select the file to print, and click on Print Case Sheet.
FAQs
How is Dental Chart different from the existing tooth number chart?
Dental Chart EMR is much more comprehensive. It consists of several tools that can help you educate your patient better. Moreover, it will help in documenting the current state of your patient.
What are Legends?
Legends are unique combinations of a colour and symbol that depict a particular dental problem or procedure.
What are Annotations?
You can use ‘Annotation’ to jot down notes specific to an area in the Dental Chart.
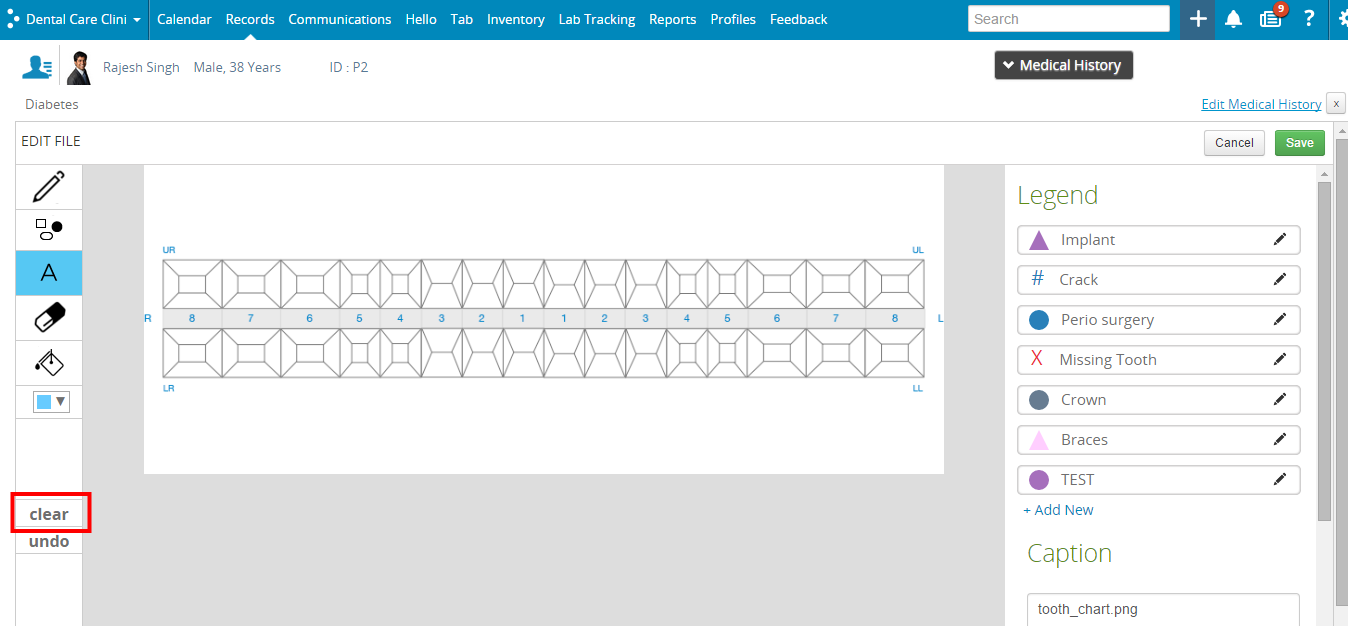
How do I remove all my markings?
Click the clear option to clear all your existing markings.
Are there any preset shapes to mark my observations?
Yes. You may choose from any of the shapes available on the right hand side of your screen under Legend. You can also change colours and customise shapes based on your requirements.
How do I rename a Dental Chart?
Simply key in your desired file name under Caption and click Save.
How can I create filters?
Go to Tags. Click on Add/Remove to create your own filter. You may create filters such as pre-treatment or post-treatment to segregate your dental charts easily.
Can the Dental Chart be printed?
Yes, it is possible to take printouts of the Dental Charts from Patient Timeline.
What information is displayed in the print/e-mail of the Dental Chart?
The Dental Chart is printed along with Legends.
* Note: Annotations are not printed.
Why are there two Dental Charts for children in an individual patient?
The two charts portray the combination of milk and permanent set of 20 teeth respectively.
Can the colours of the ‘Legends’ be highlighted in printouts?
Yes, the colours will be highlighted, provided that in ‘printout settings’ you have opted for a ‘coloured’ printout.