Practo Ray allows you to bid goodbye to handwritten prescriptions. This not only makes things easier for you, it also helps your patients to view their prescriptions whenever they need them.
To view prescriptions, log into your Practo Ray account. Once you have logged into your account, locate the EMR tab on the menu bar and click on it.
![]()
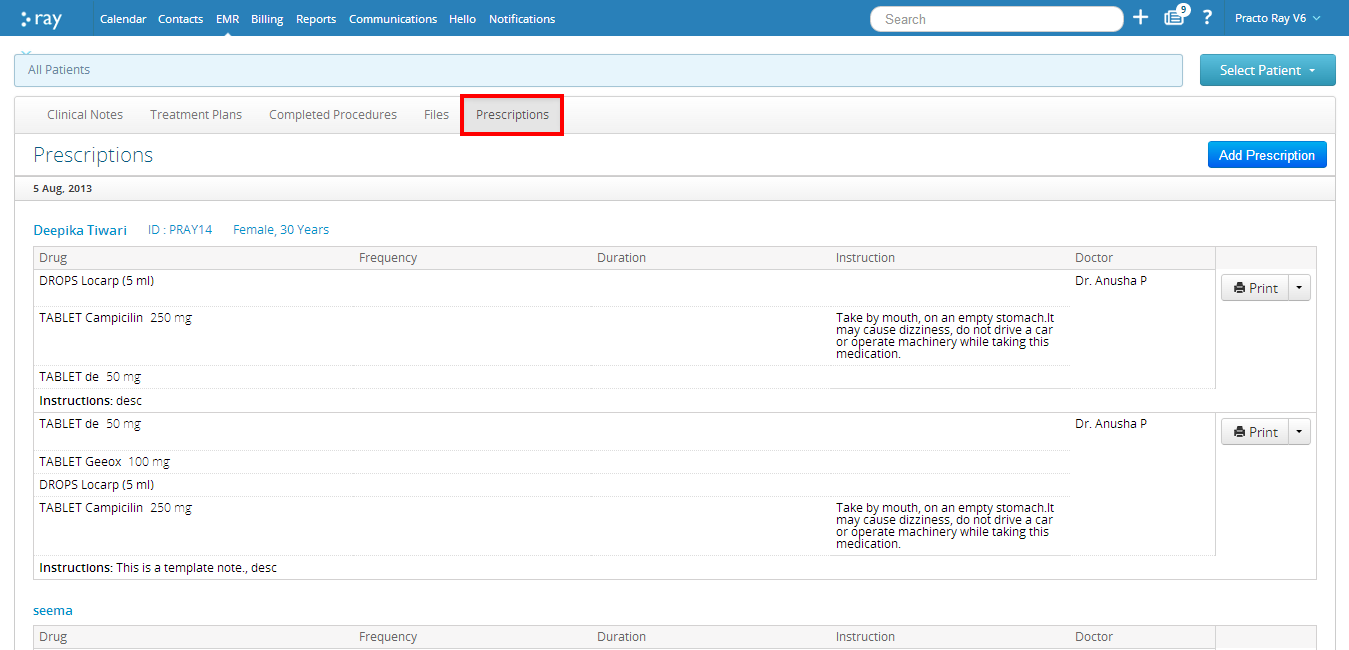
This will open up a new page. Click on ‘Prescriptions’ located within this new page. You will now be able to view all the prescriptions that you have generated in the past for your patients.
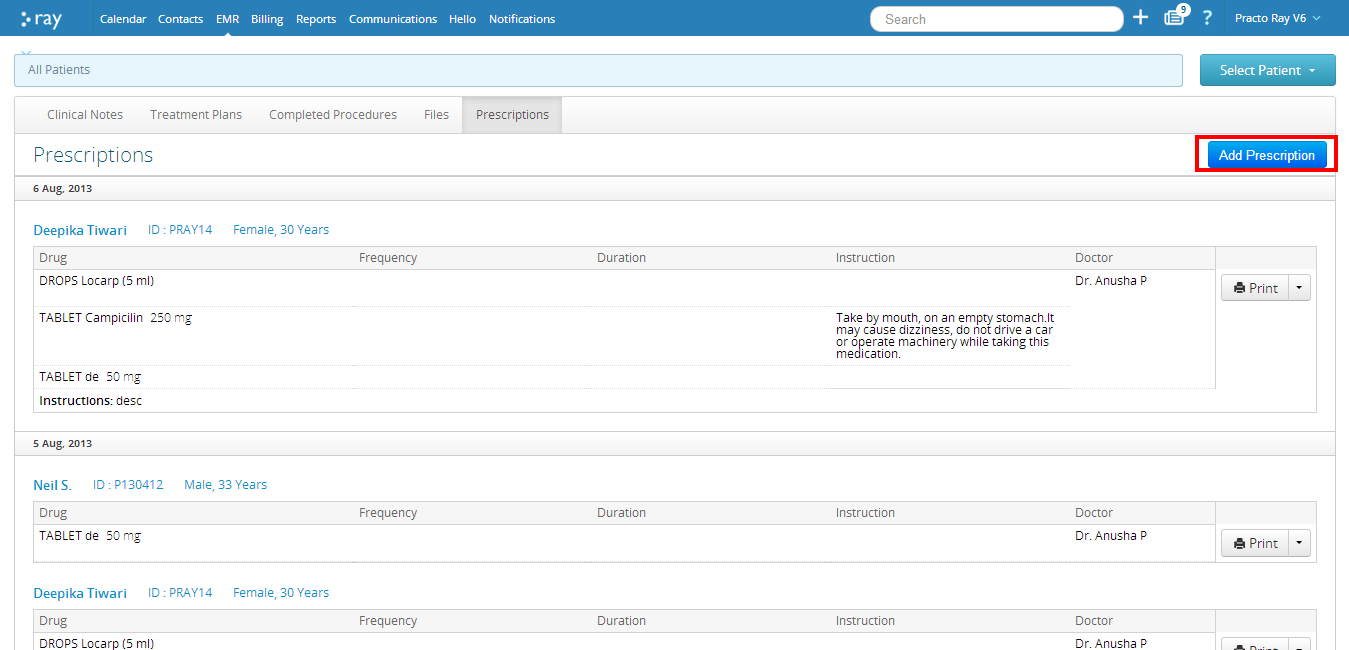
To add a new prescription, click on ‘Add prescriptions’.
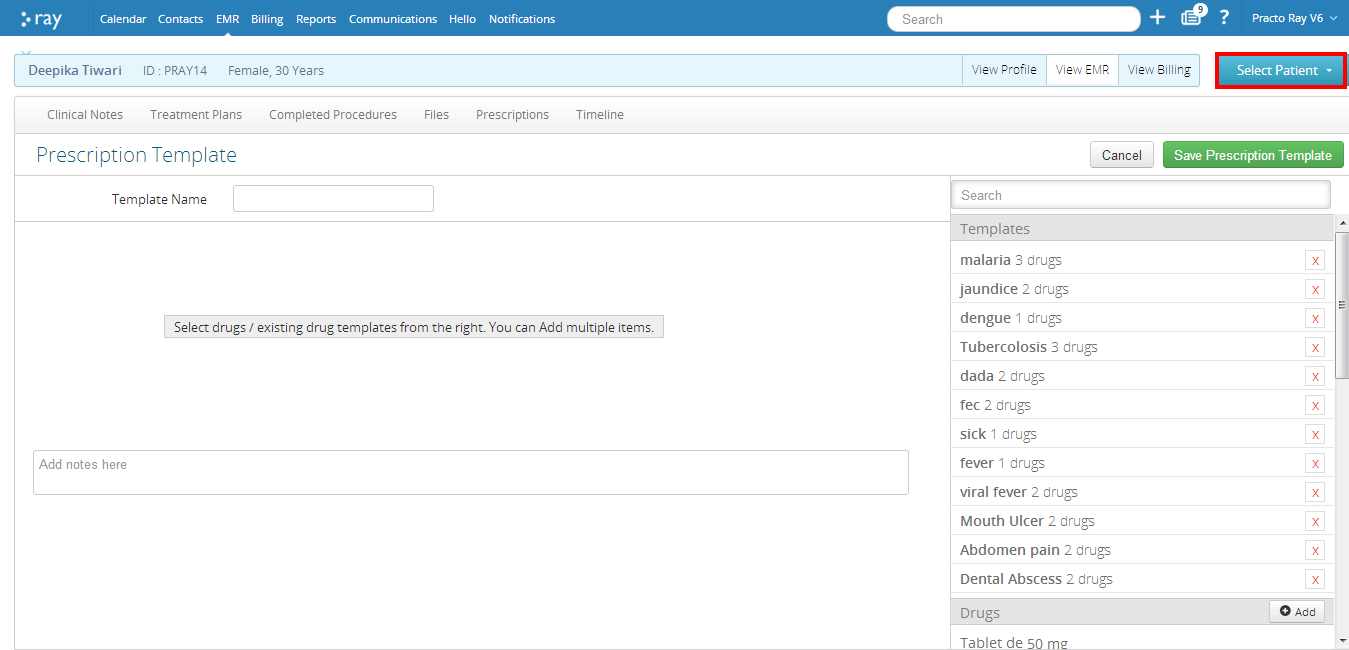
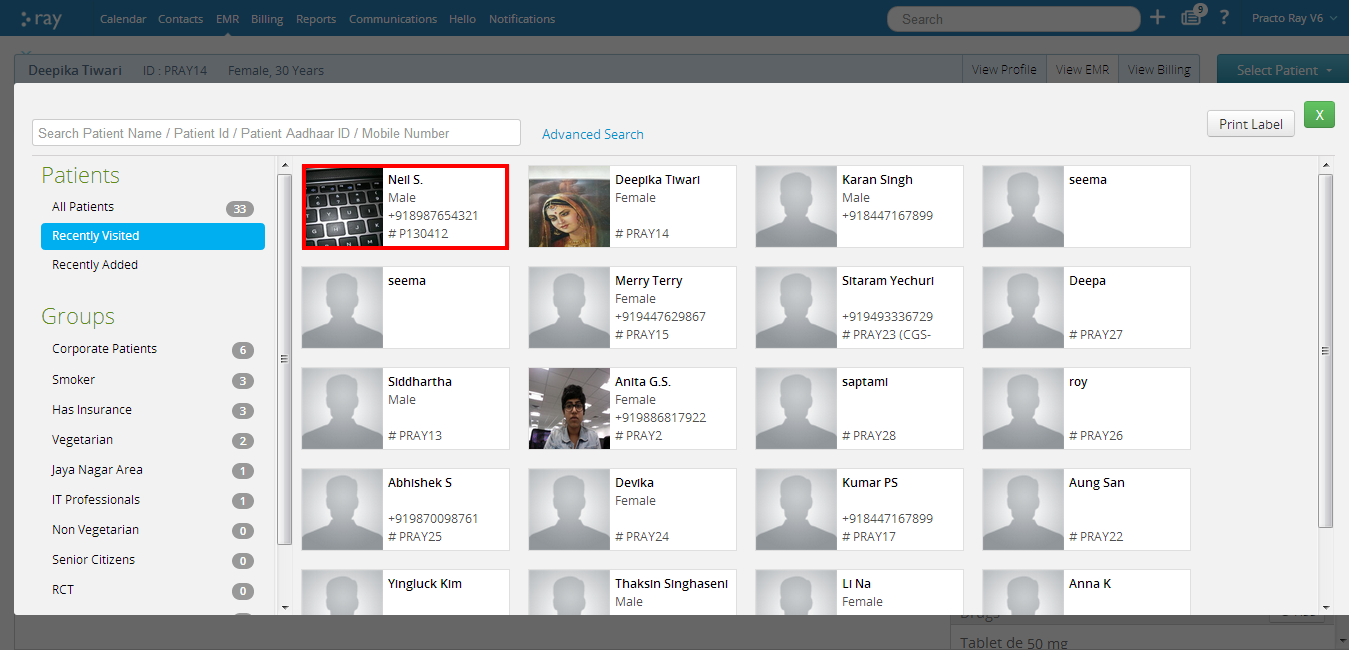
Once you click on this button, you will be prompted to select the patient for whom you are creating the new prescription.
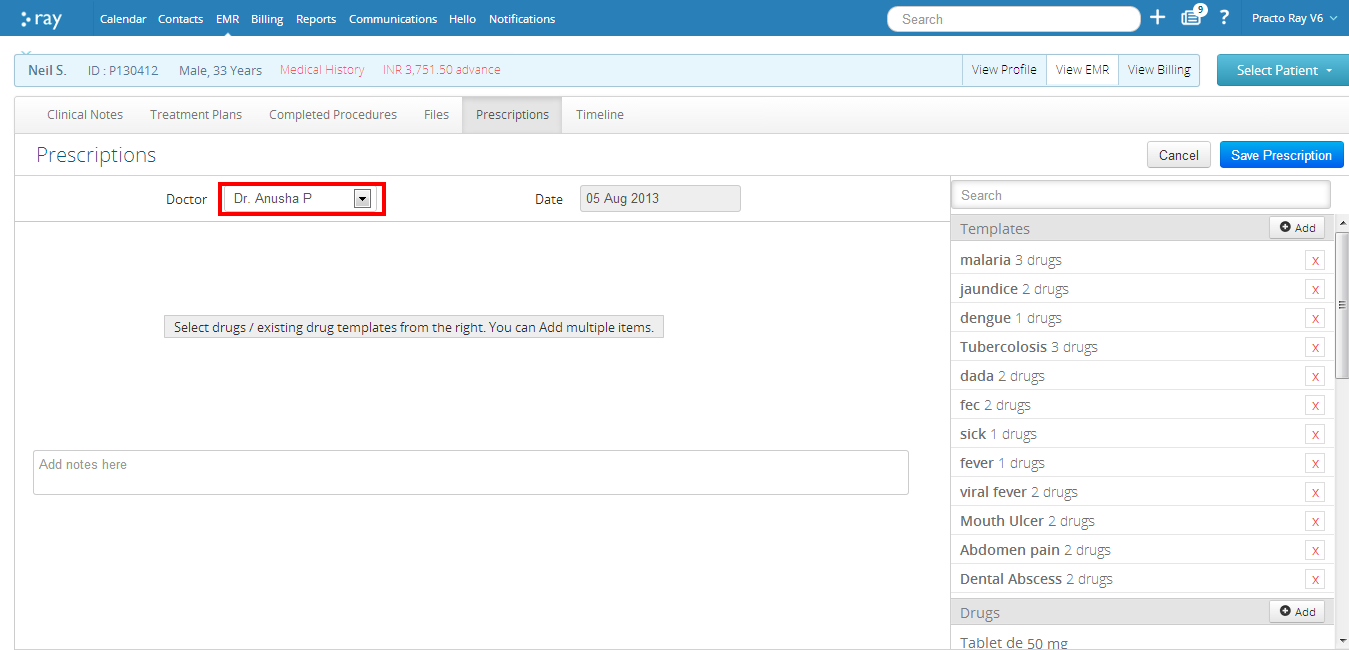
The new page that opens up will be the new prescription page. You can select the name of the doctor on this page. By default, the selected doctor is the first one in the doctor list. To change the doctor name, click on the dropdown and select the appropriate doctor name.
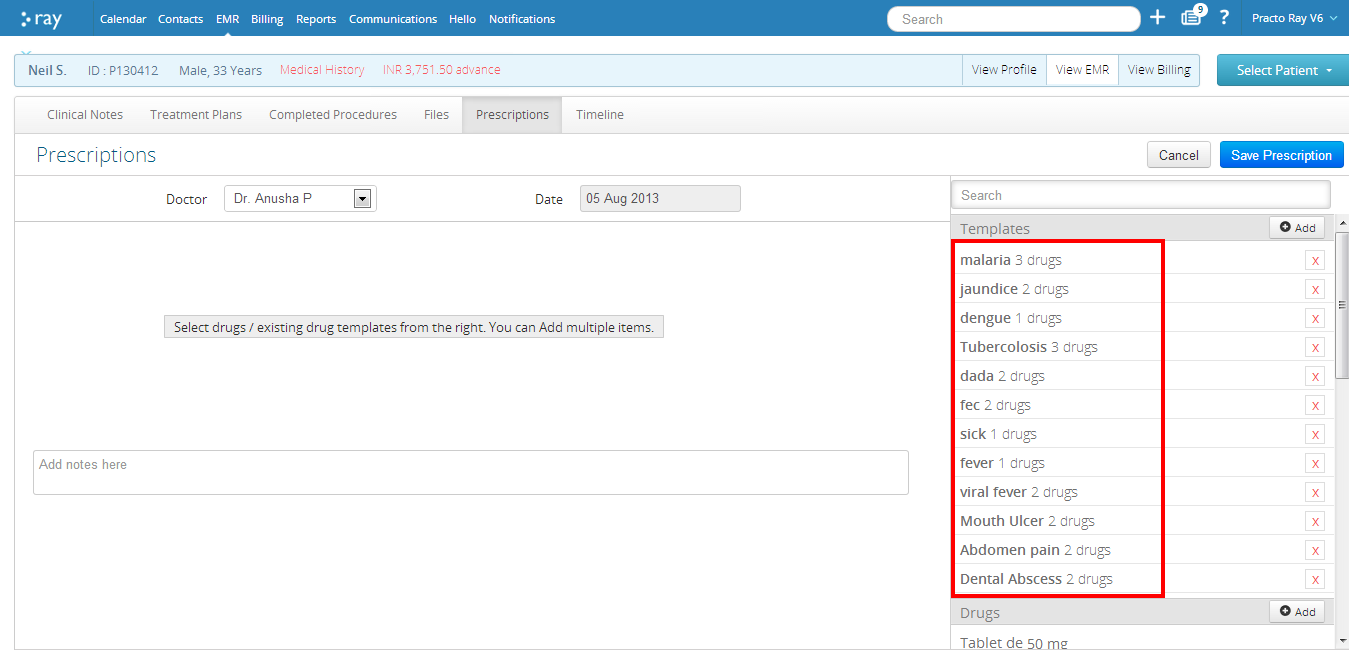
You can either add the prescriptions based on preset templates that have been saved by you in the past or create new templates. Choosing templates is helpful while making prescriptions for generic diseases like fever or cold as the tablets prescribed would largely be the same.
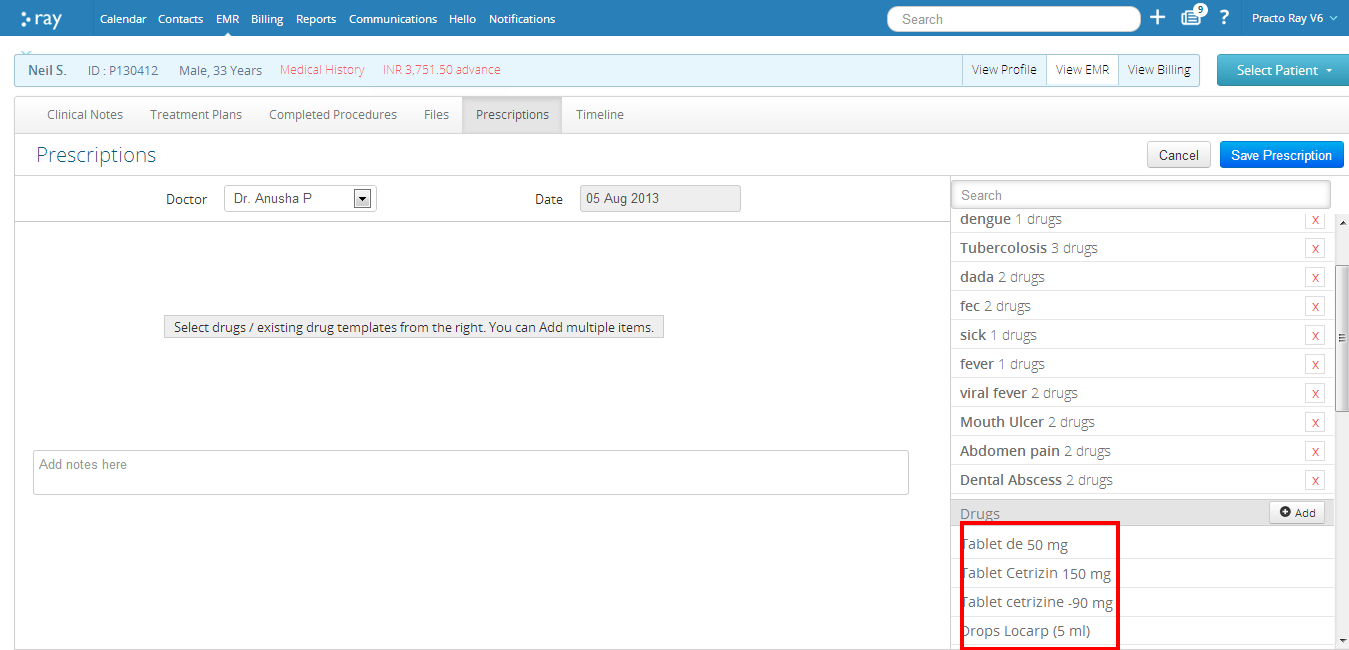
You can even choose single drugs by selecting them from the drug list located under the template list.
In order to add new templates, click on the ‘Add’ button located on top of the template list.

You will be prompted to a new page where you can name your new prescription.
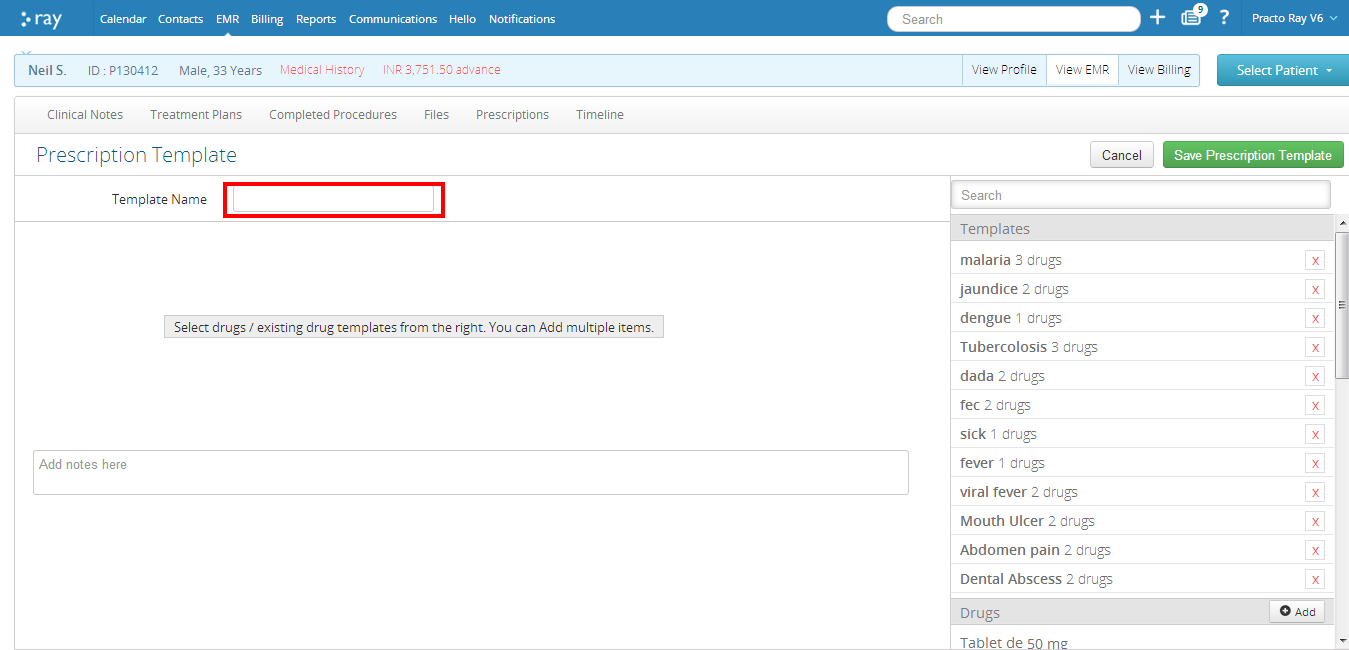
Once you have named the new prescription, you can select the drug from the list on the right side by clicking it. Once you click it, it will automatically be added to your new template.

Adding new drugs to prescriptions
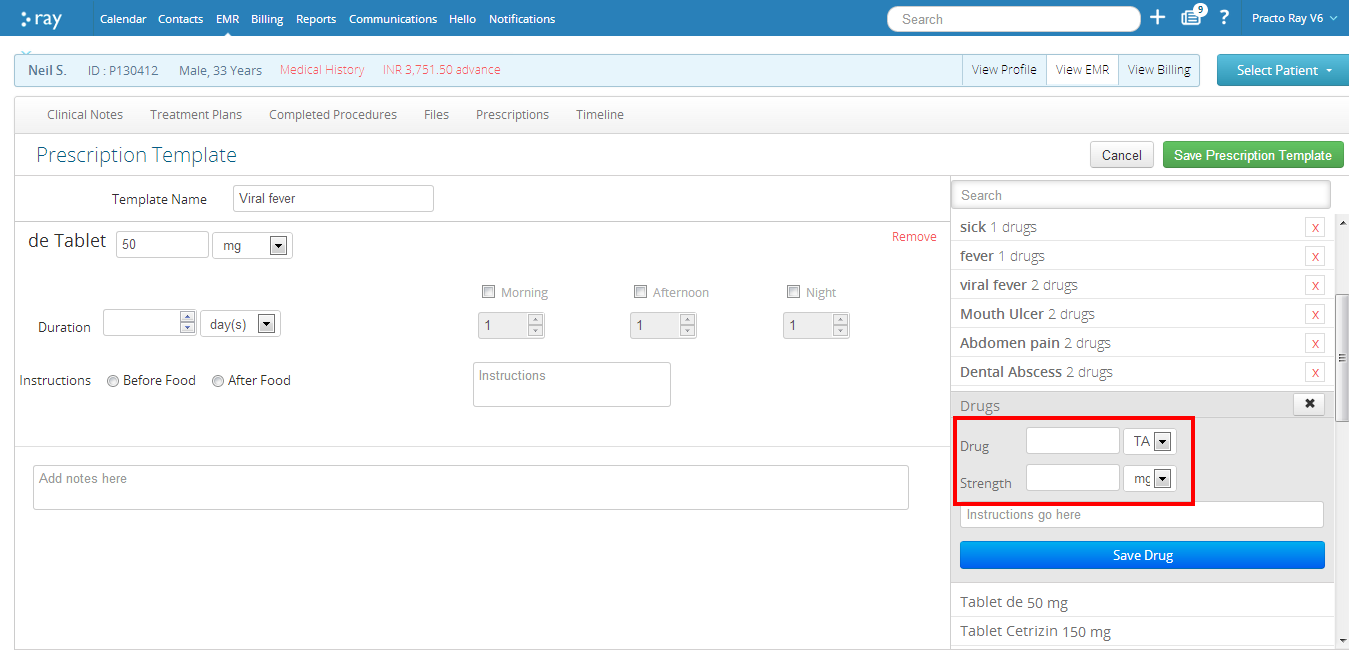
If the drug that you want to add to the template is not already present in the list, you can add them by clicking on the ‘Add’ button located on top of the list.

You will be able to see two drop downs- the first one is to specify the nature of the drug. i.e. is it a tablet, powder, syrup etc. The second drop down specifies the strength of the drug.
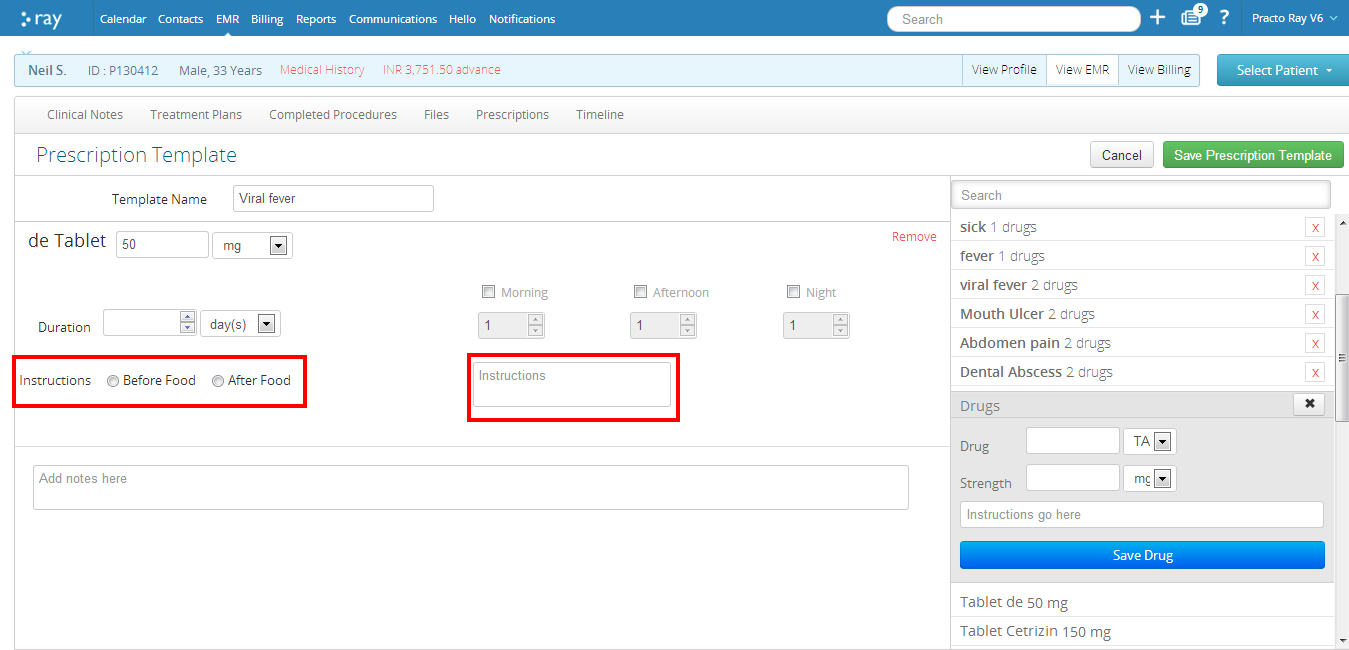
You can even specify whether the drug needs to be administered before or after food. Other instructions with regards to individual drugs can also be specified.
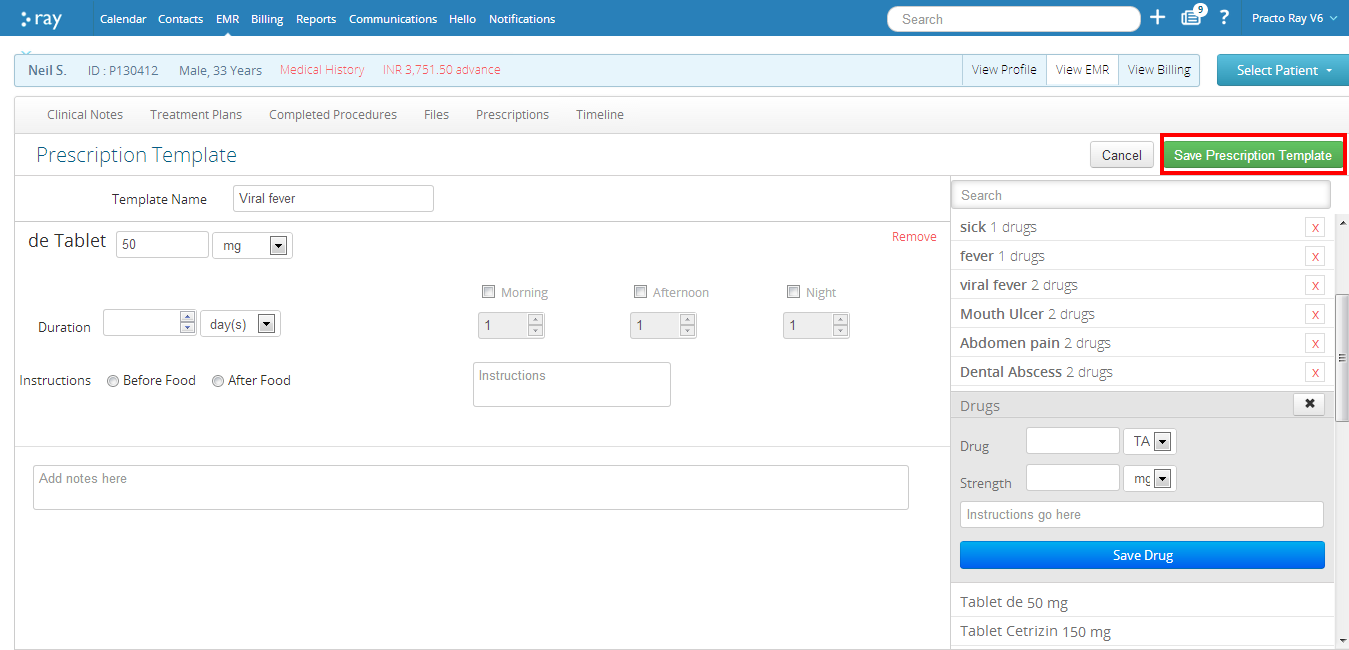
Once you have specified all aspects of the drug dosage for your prescription, you can add notes that guide the patient on the dosage and other details. The notes section is available with every drug or template and can be saved for future reference.
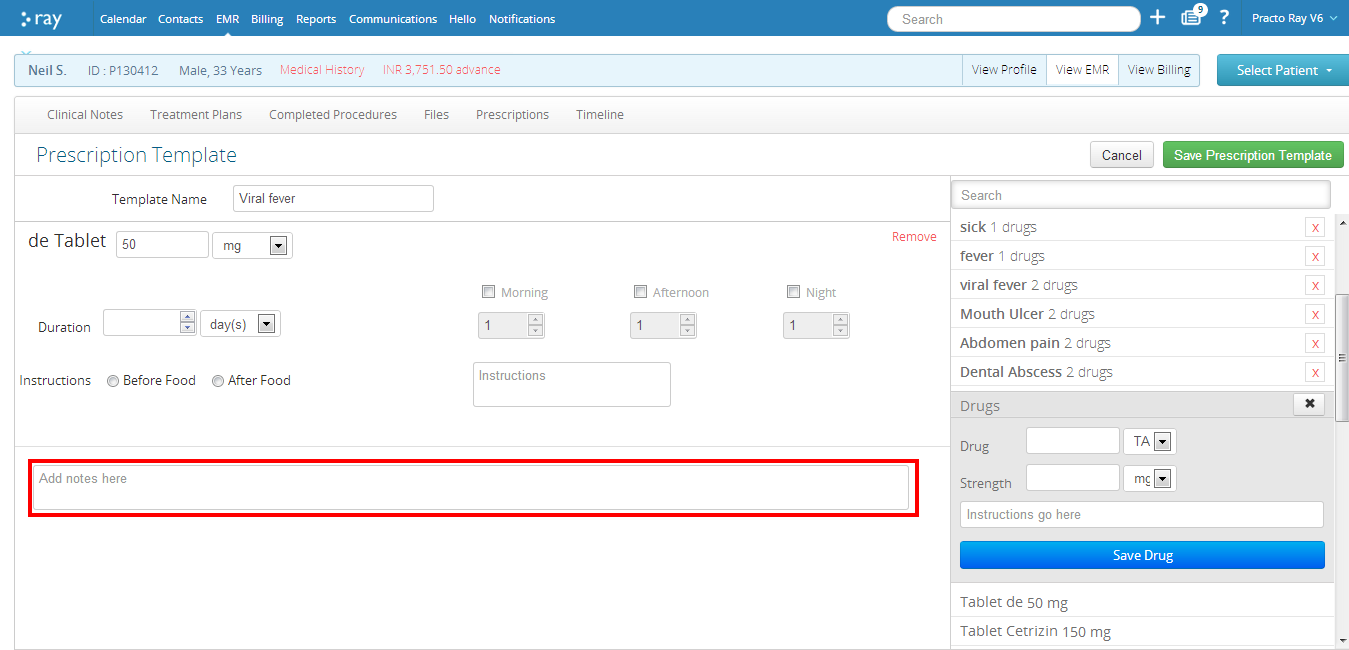
After saving all the instructions, click on ‘Save prescription template’ and it will be saved as a new template within your prescription list.
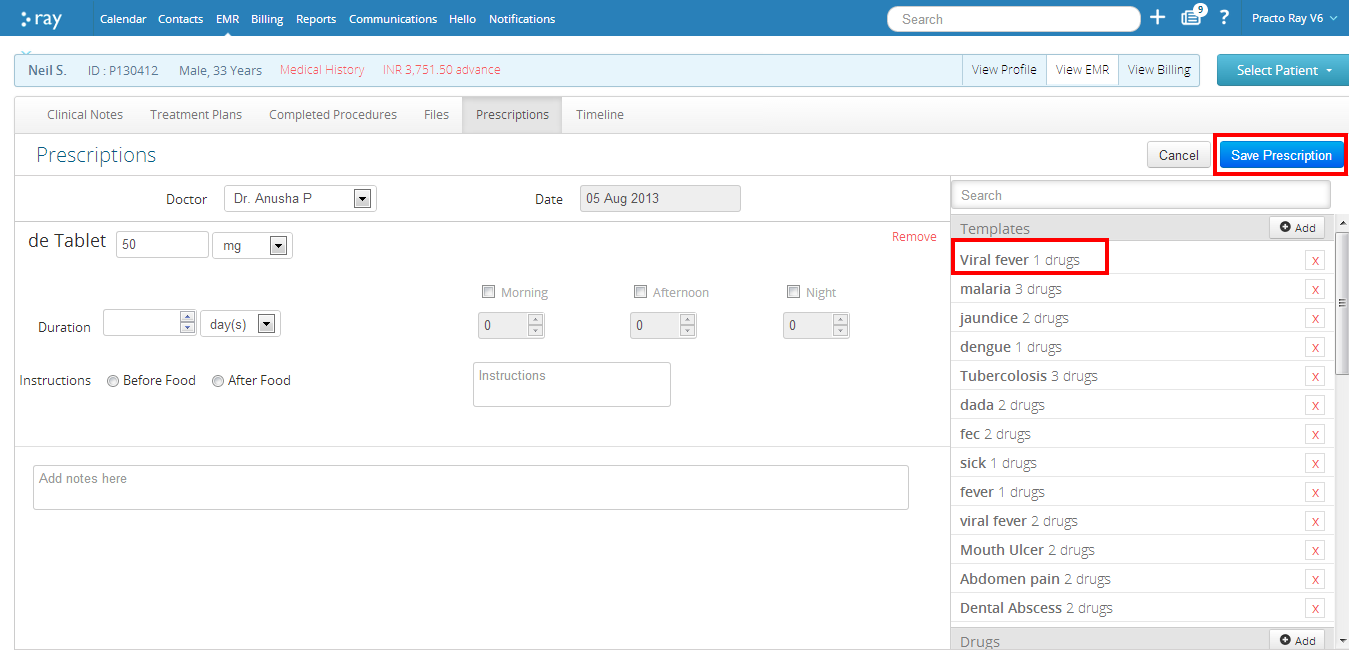
To add that prescription to the patient’s prescription select it from the list of prescriptions and click on ‘Save prescription’.
You will now be prompted to a new page with the new prescription details for the patient. Once you have verified the prescription, click on ‘Print’. This will allow you to print out your prescription for your patient.
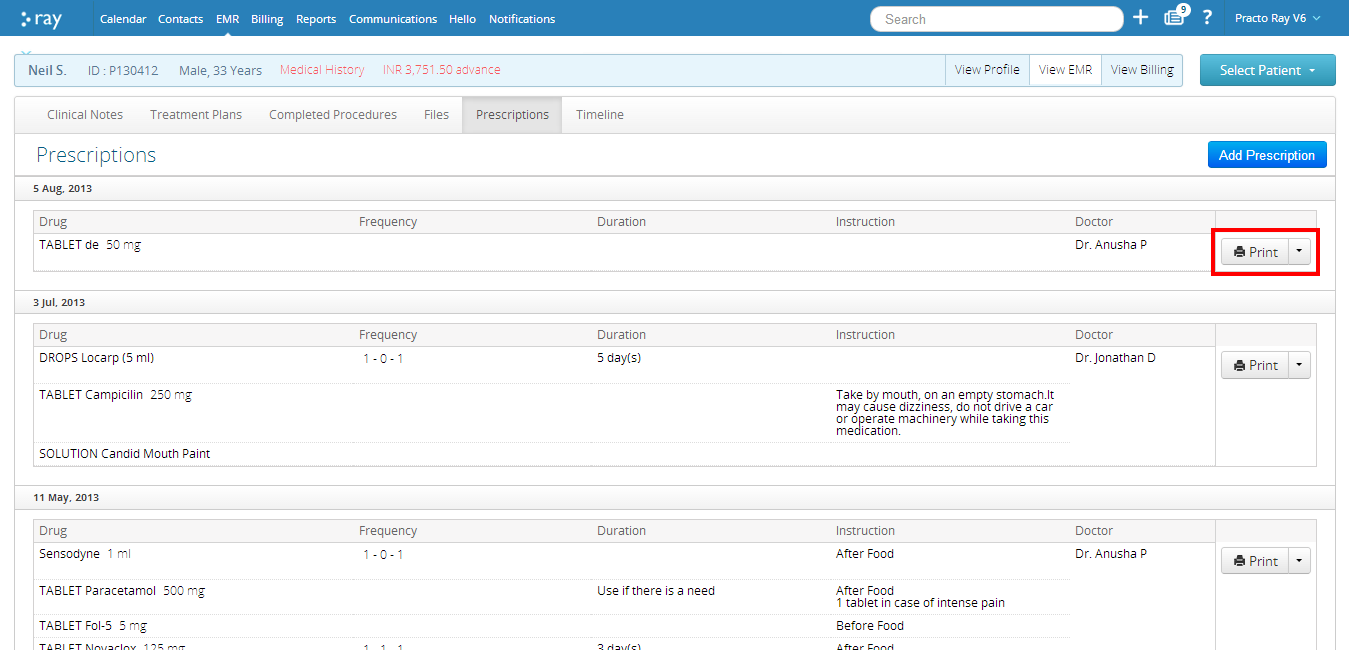
You can even choose other options to send the prescription to the patient. To select alternate communication methods, click on the drop down symbol next to the print button. Select the communication method-email or SMS.

On clicking the SMS option, you will be asked to input the mobile number that you want to send the prescription to. Enter the patient’s mobile number and click on ‘Send SMS’.

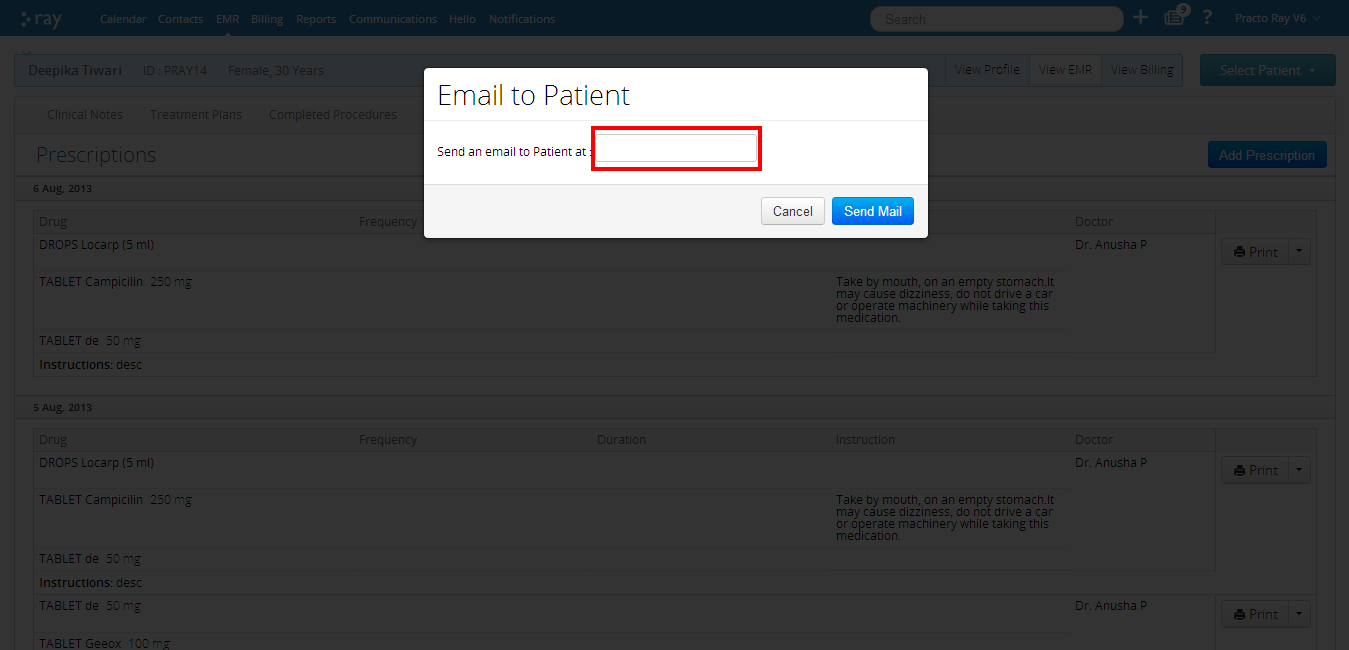
If you want to email the prescription to your patient, click on the ‘Email’ button in the drop down. Enter the email id of the patient and click on ‘Send email’.