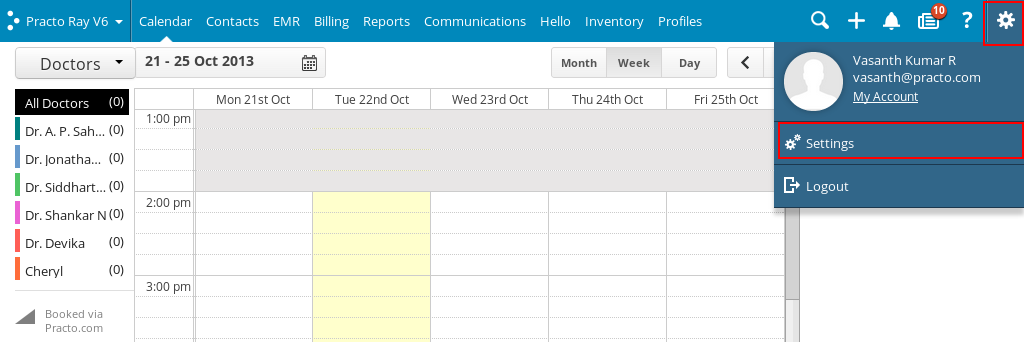
To customise your receipt print settings, click on the Settings icon on the top-right corner. You will see a drop down menu, click on ‘Settings’ here.
You will be directed to a new page with a list on the left side. Click on ‘Printouts’ from the list on the left side of your screen.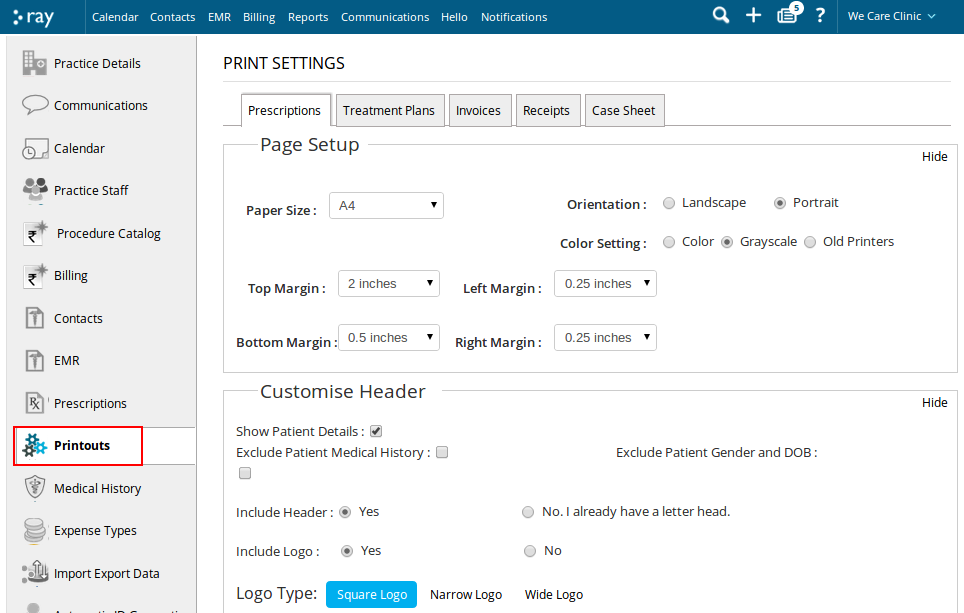
Click on ‘Receipts’ located on top of the new screen that pops up. You will now be able to see the details of Receipt Print Settings.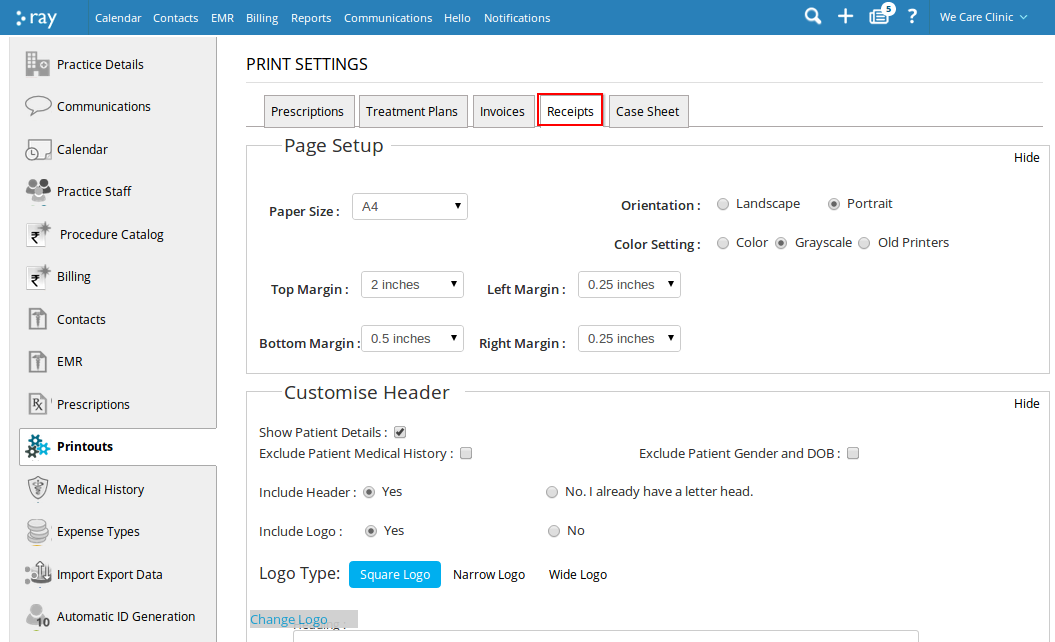
To alter the page setup of your printouts, at the top of the page you will find a text that says Page Setup.
Below that you will find fields for paper size, top margin, bottom margin, left margin and right margin. You can now set these fields to values of your choice by clicking on the dropdown arrow next to them and choosing from the dropdown list that appears.
You can also set the orientation and color setting of your printouts.
To customise the header of your printouts, towards the middle of the page you will find a heading that says Customize Header.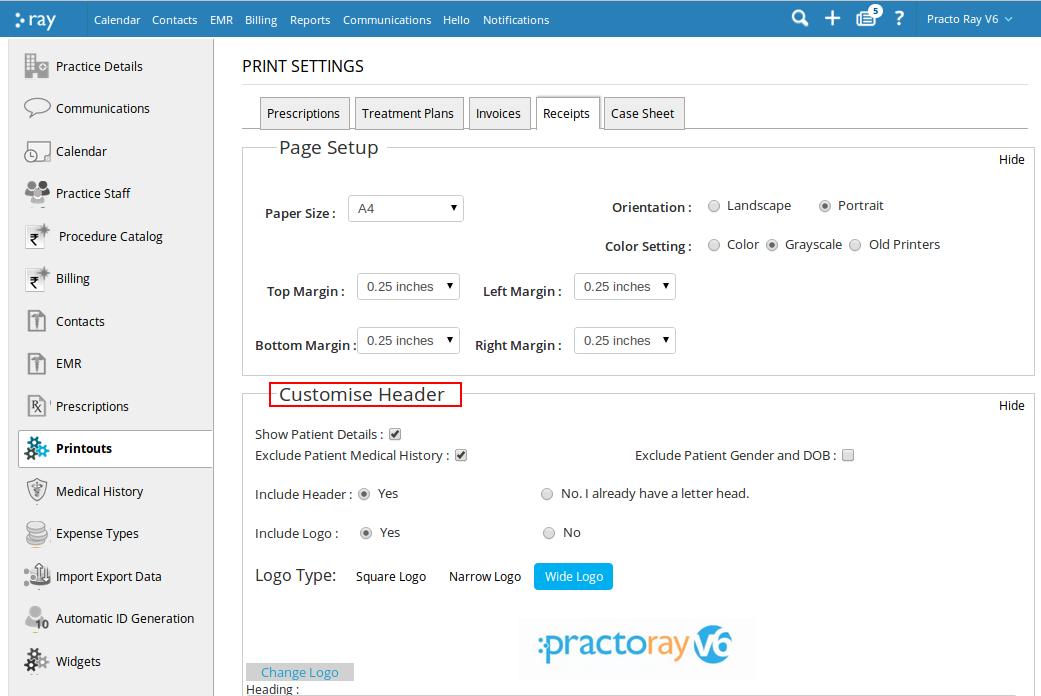
You can opt to include patient details. At the same time you can even opt to exclude patient medical history or patient gender and date of birth.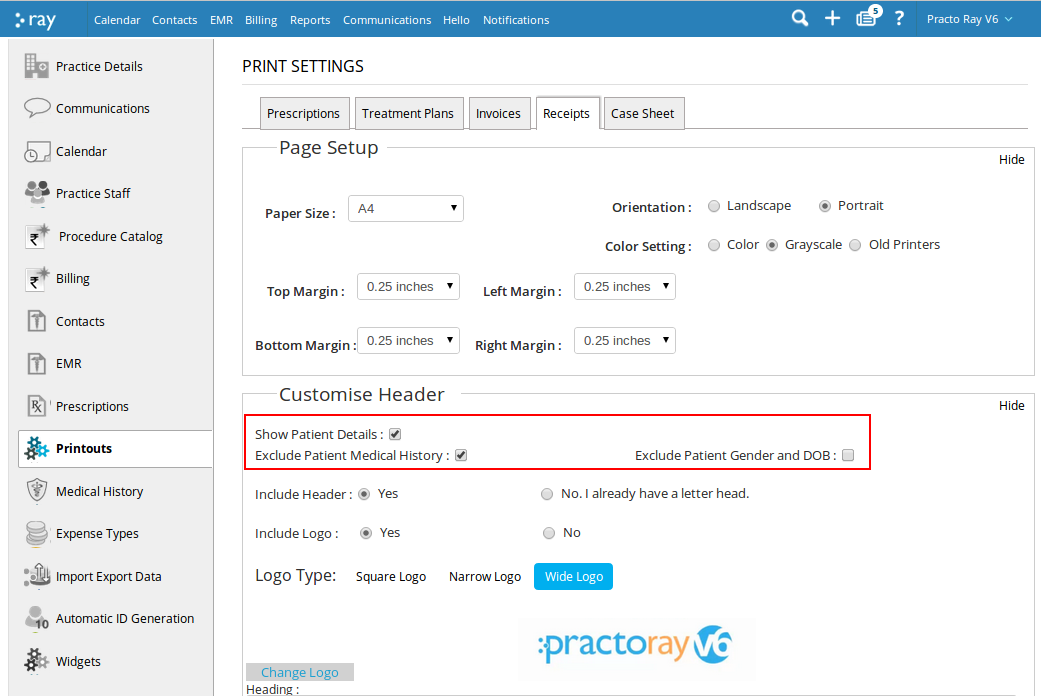
You can also choose to include a header. You can customize your header by including a heading and text in columns titled text 1 and text 2.
You could include your logo. You can choose among a square, narrow or wide logo.![]()
To include a signature line or terms and conditions at the bottom of your printouts, on scrolling down you will find text that says Signature and T&C.
Below that you will find a field for Top margin. Click on the drop down arrow next to it to choose a value from the dropdown list that appears.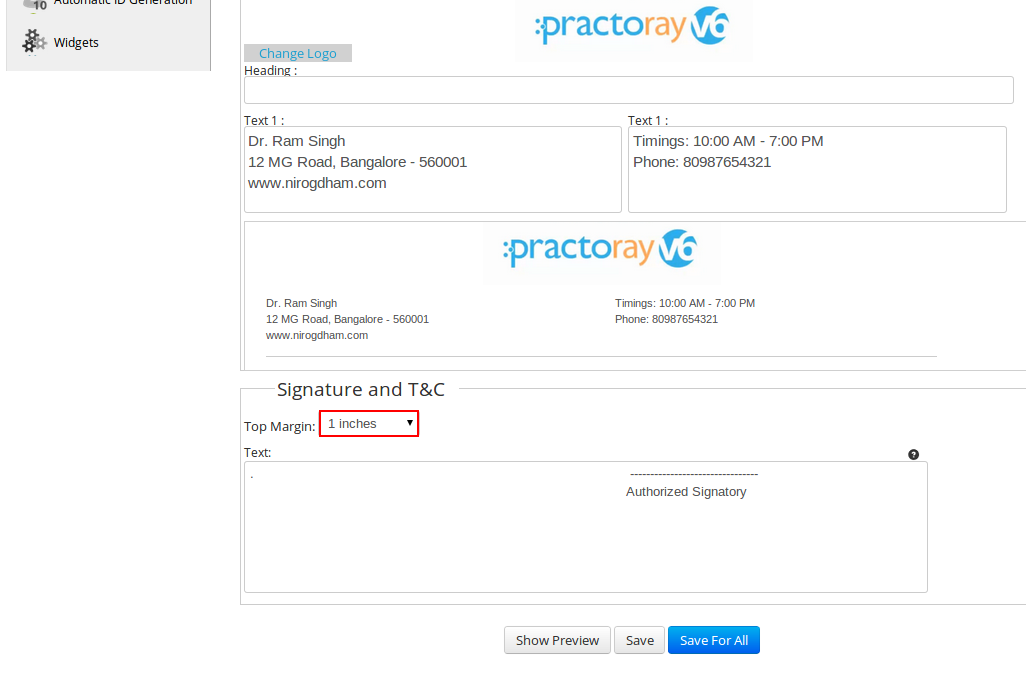
You can now insert a signature line in the text box below it.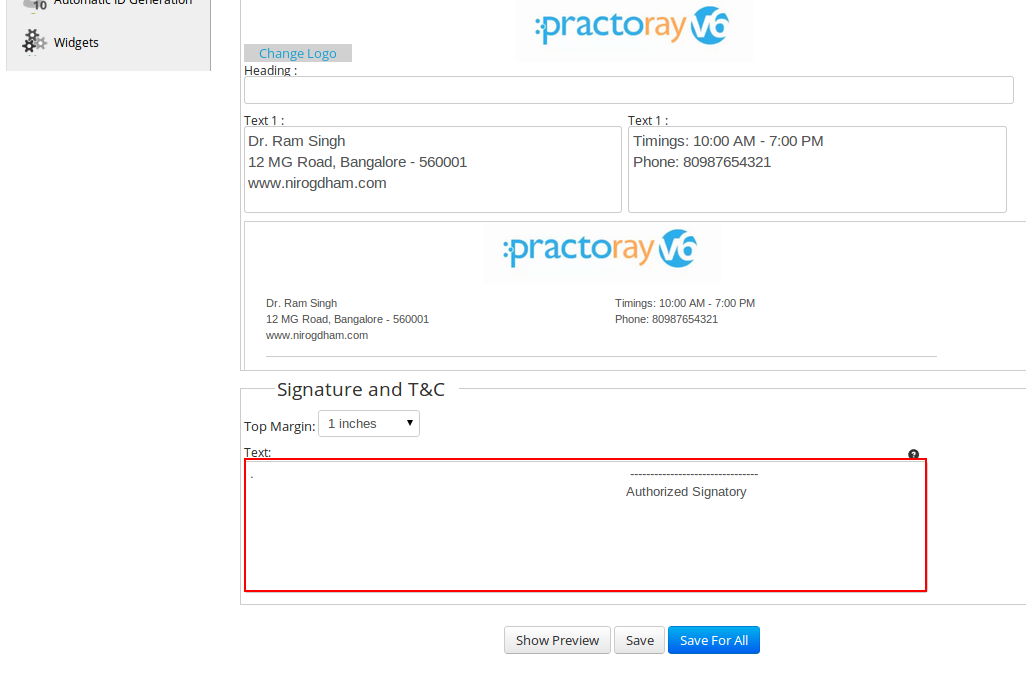
You can now save this setting for all your receipt printouts by clicking on Save.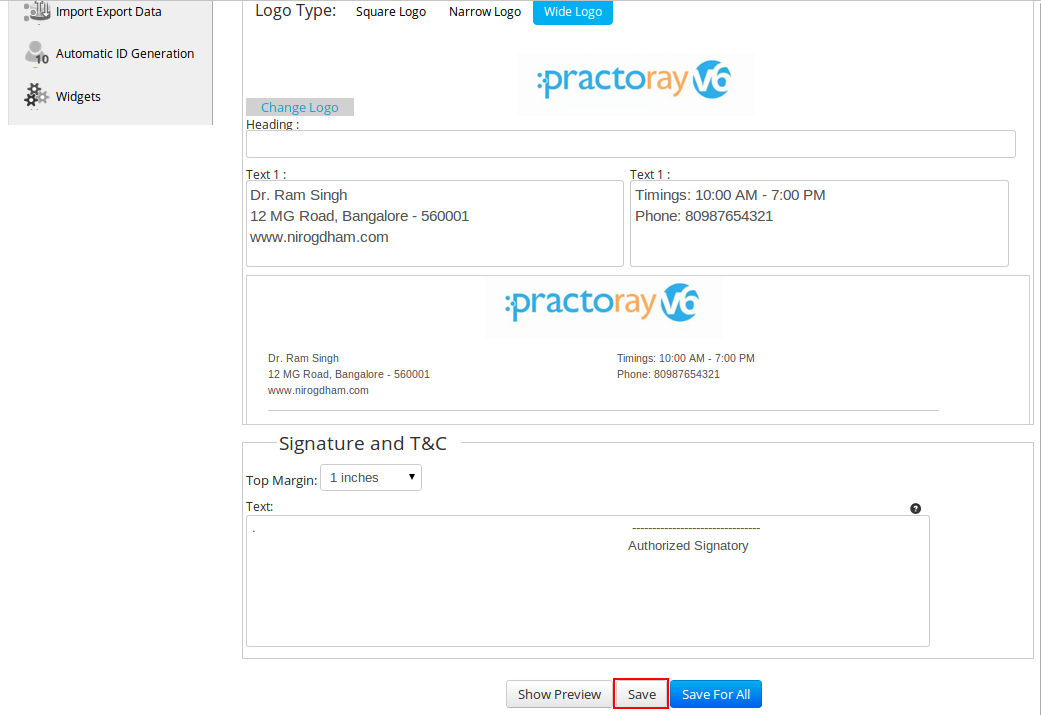
You can even save this setting for all your printouts by clicking on Save for all.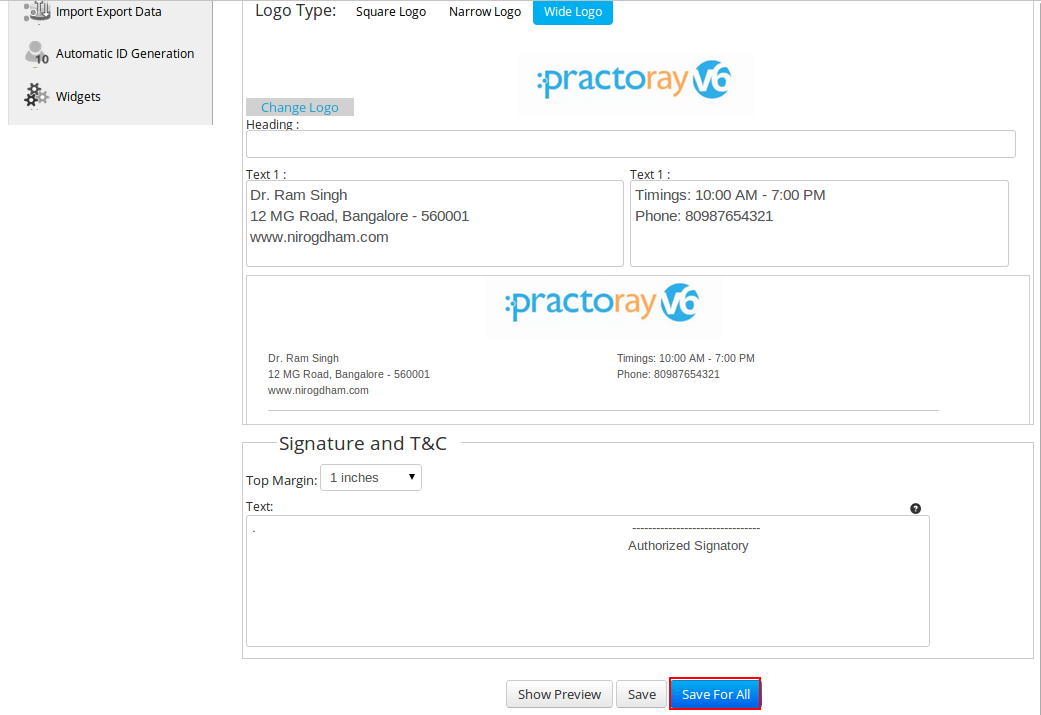
You can now go and set the settings for receipt printouts at your practice.